前言
当写下这篇文章的时候,其实我连TensorFlow怎么用都不会,所以这篇文章你们就当我放屁好了。我是一个Android开发者,且我不会python(别鄙视我),所以取名为《当Android开发者遇见TensorFlow》。文章并没有什么实质性内容,仅仅是为了敲开机器学习的大门。
Java调用TensorFlow
前面说了,本宝宝是一只不会python的宝宝,所以这篇文章不会涉及到任何python相关的内容,所以Java自然而然地成为了我的首选语言。
Google开源的TensorFlow的核心代码是C++写的,因此Java自然而然的可以使用他,只是中间多了一层JNI。加上平时我对Gradle的接触程度,选择Gradle做构建工具,而不是maven。
这里不得不再赞一下Intellij Idea,今天突然发现2017.1版本的Intellij Idea已经能够自动将maven依赖转换为gradle依赖了,我们直接复制maven依赖到gradle中,它就会自动转换为gradle依赖,再也不用我们手动转换。见证奇迹的时候到了
maven 依赖
1 | <dependency> |
转换后的gradle依赖为
1 | dependencies { |
为了运行java程序,应用application插件,并指定mainClassName,对应的类在后文创建
1 | apply plugin: 'application' |
来点有难度的,参考LabelImage.java,我们来做一个图片识别工具
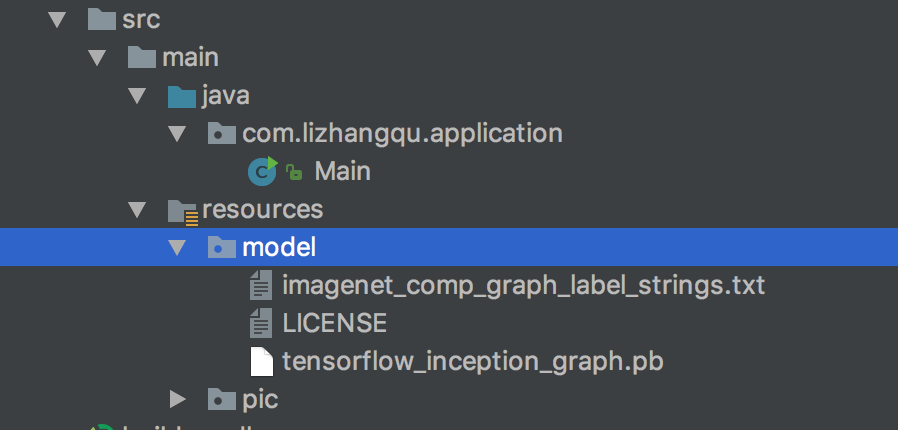
首先下载训练好的模型 inception5h.zip,将模型内容解压到src/main/resources/model目录,如图
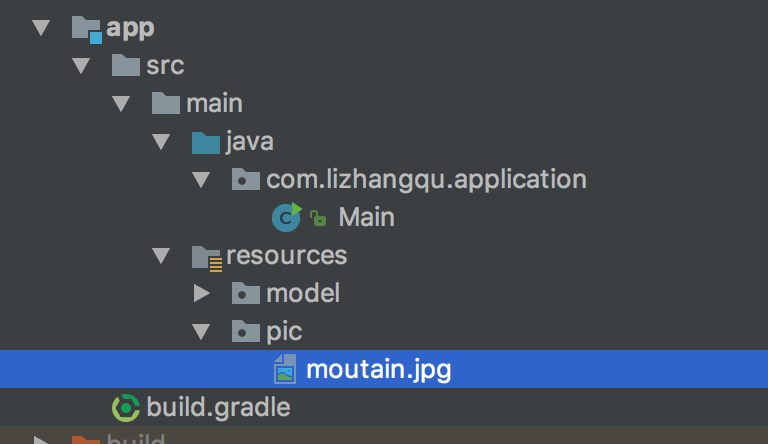
然后随便下载一张图作为待识别的图,这里使用这张图,好大一座山

将其放到src/main/resources/pic目录,如图
然后新建一个Main类,拷贝一波LabelImage.java代码,修改其main函数为
1 | public static void main(String[] args) { |
做的修改很简单,将参数从外部传入,修改为了从resources目录读取
Main类完整代码如下
1 | package com.lizhangqu.application; |
跑一波,命令行执行
1 | ./gradlew run |
看下输出内容
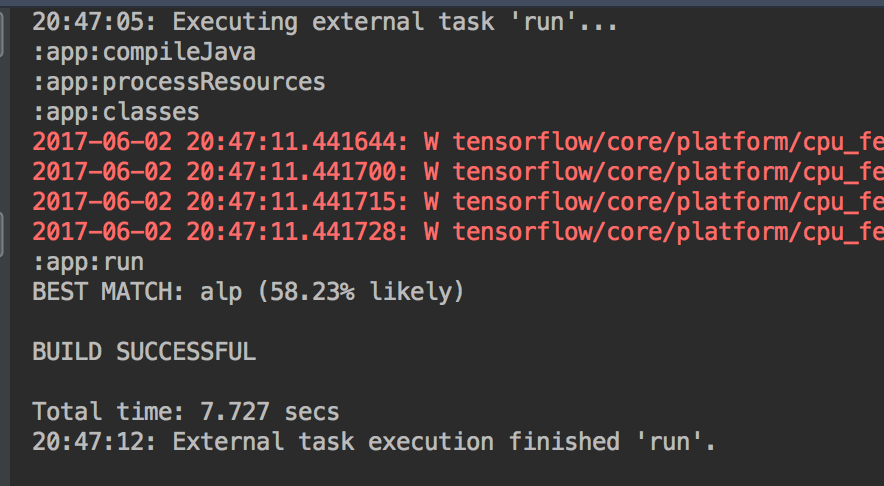
输出为
1 | BEST MATCH: alp (58.23% likely) |
我擦,alp是什么鬼,查下英文字典
1 | alp 英 [ælp] 美 [ælp] |
恩,没错,58.23%的概率这张图是大山。没错,这张图就是大山。当然识别的图的准确率跟这个训练好的模型直接相关,模型越屌,准确率就越高。具体代码什么意思你也别问我,问我我也不知道,文章开头已经说过了,写下这篇文章的时候,我还不会用TensorFlow。
Android调用TensorFlow
Java能调用,Android自然在一定程度上也能调用。
引入依赖
1 | compile 'org.tensorflow:tensorflow-android:1.2.0-rc0' |
将minSdkVersion设成19,因为用到了高Api,当然如果你想设成14,自行将高Api的代码删了,主要是android.os.Trace类,去除了不影响正常使用
1 | android { |
还是一样的训练模型,这次把他们扔到assets/model下,待识别的图片放在assets/pic下,如图

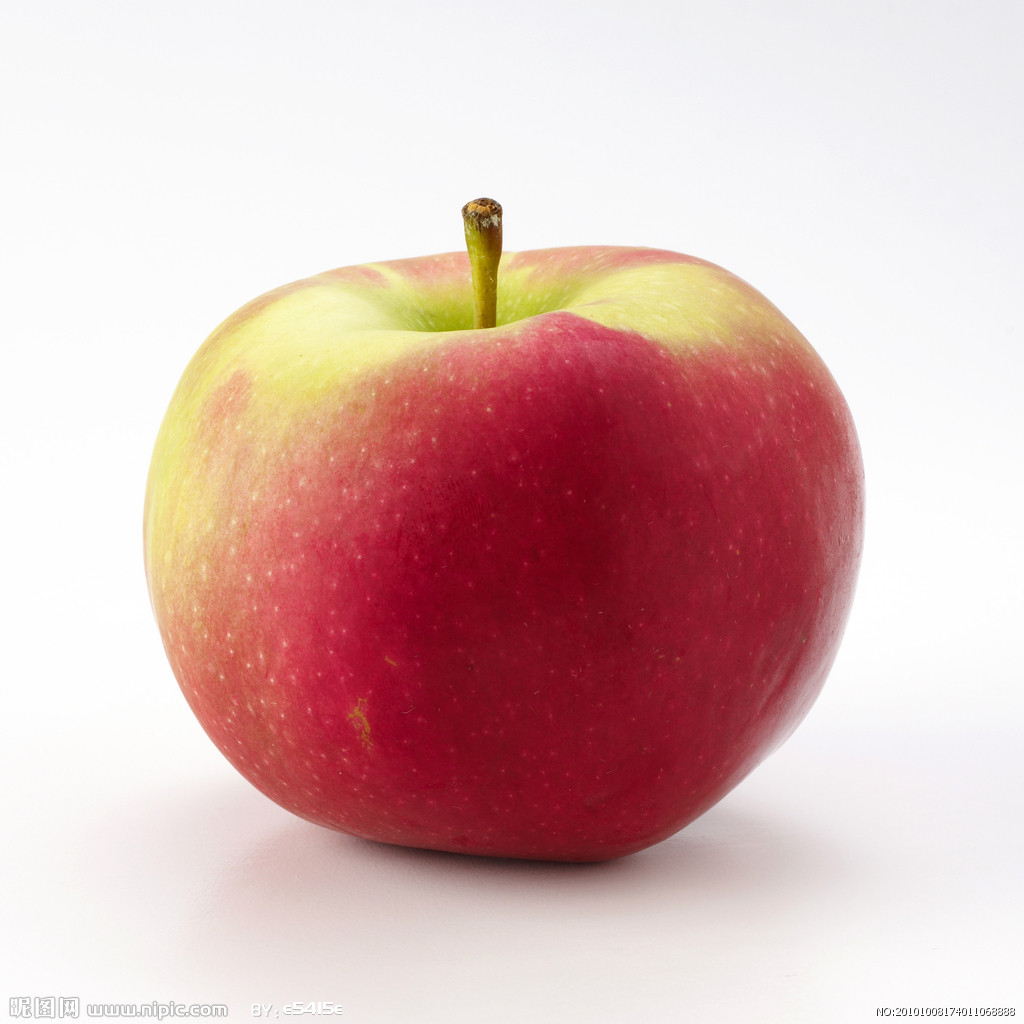
不过这次我们待识别的图换了,换成了一个大苹果
还是拷贝点代码,到android/demo下,拷贝Classifier.java和TensorFlowImageClassifier.java两个类,代码就不贴了。
然后参考下ClassifierActivity.java的代码,将assets/pic/apple.jpg进行识别
1 | public class MainActivity extends AppCompatActivity { |
识别结果如下:
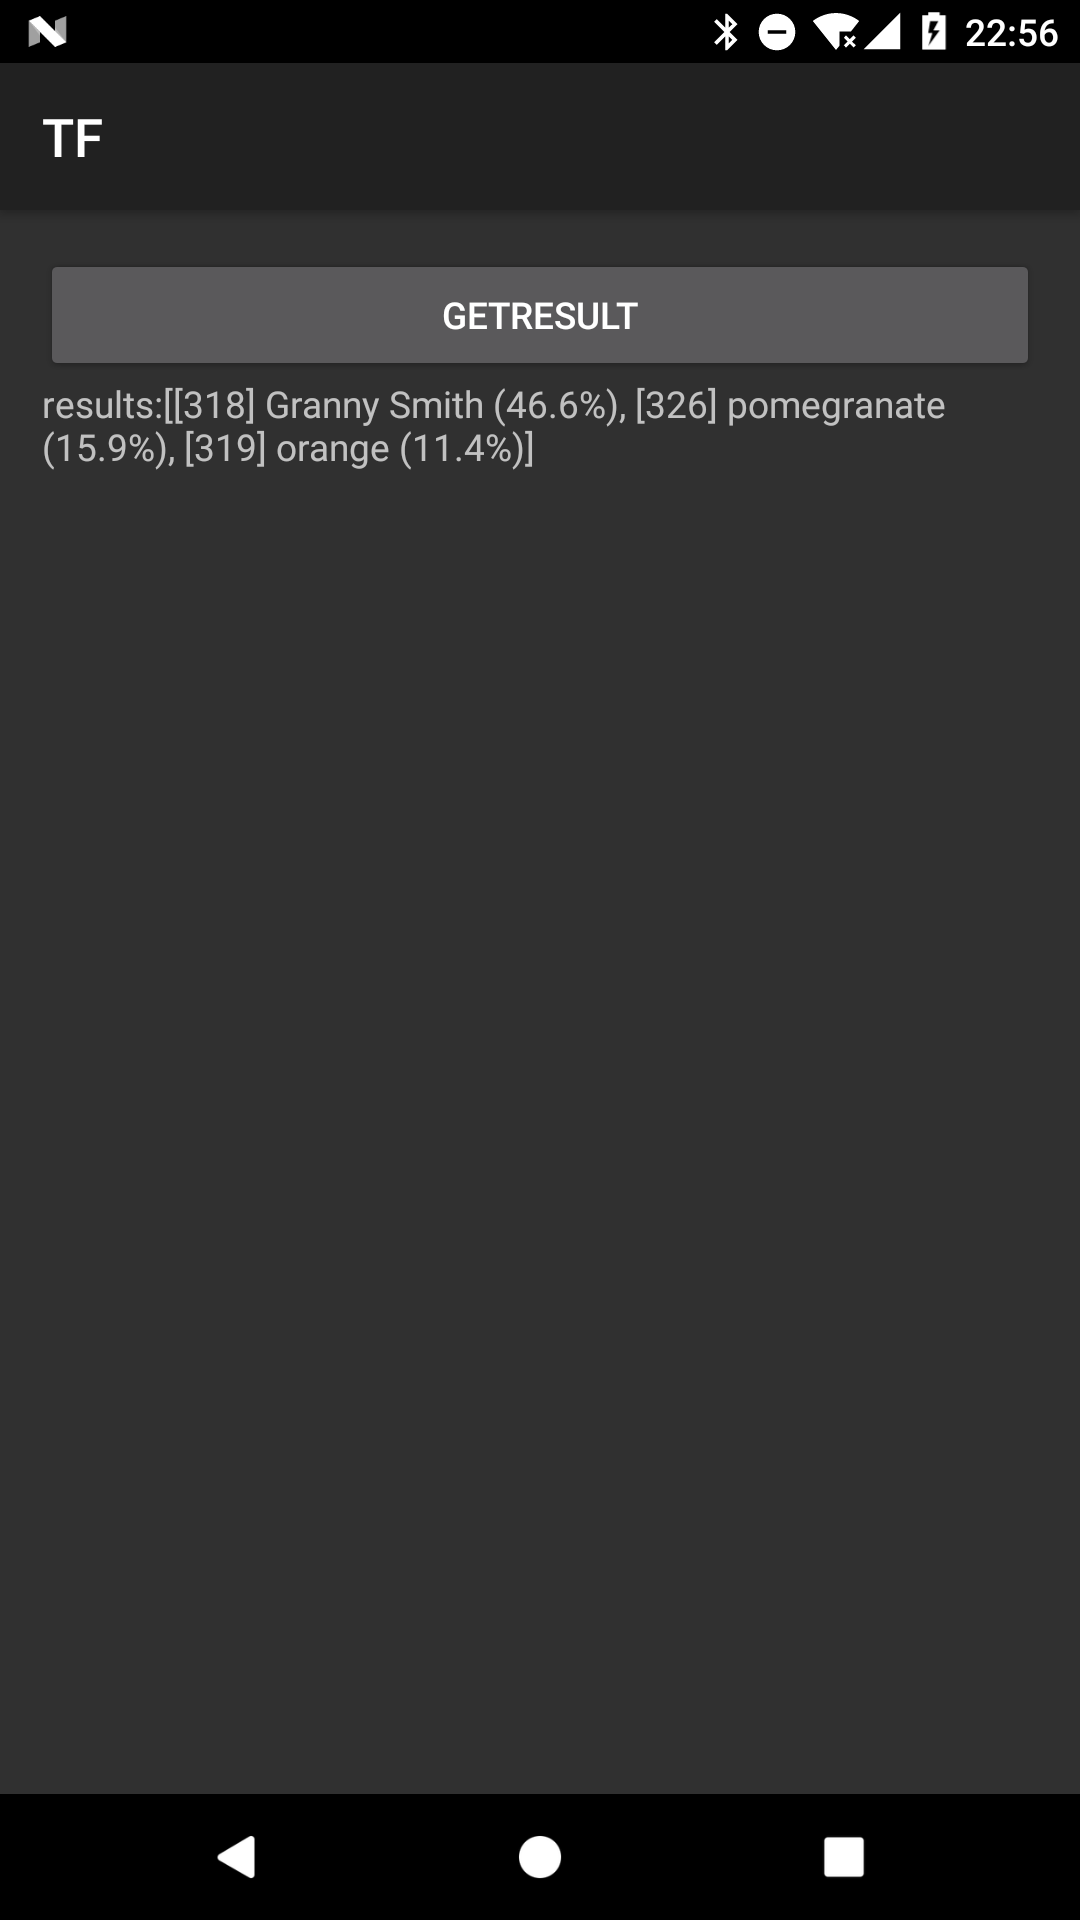
识别率最高的是granny smith,什么意思呢,查一下发现是“青苹果”,哭笑不得,这是一个红苹果,这么小的训练模型,也不期待识别率有多高了。
NDK交叉编译TensorFlow
上面我们用了org.tensorflow:tensorflow-android:1.2.0-rc0这个库,还是得掌握下它的由来,下面我们就编译他。
tensorflow使用bazel构建,且依赖一些python库,因此先安装它们
1 | $ brew install bazel |
如果后面报各种各样的环境缺失,请自行Google并补齐环境。
clone TensorFlow 代码
1 | git clone --recurse-submodules https://github.com/tensorflow/tensorflow.git |
修改TensorFlow项目根下的WROKSPACE文件
将以下代码反注释
1 | # Uncomment and update the paths in these entries to build the Android demo. |
然后修改android_sdk_repository中的path为自己电脑中的android sdk目录,修改android_ndk_repository中的path为自己电脑的android ndk目录。
值得注意的是,ndk的版本,官方建议使用r12b版本,事实证明,我用android sdk下的ndk-bundle是编译不过去的,所以还是老老实实用r12b,下载地址android-ndk-r12b-darwin-x86_64.zip
编译C++部分代码
1 | bazel build -c opt //tensorflow/contrib/android:libtensorflow_inference.so \ |
如果你需要构建其他cpu结构的so,请自行修改armeabi-v7a为对应的值,比如修改为x86_64
构建好的so位于 bazel-bin/tensorflow/contrib/android/libtensorflow_inference.so,如图所示
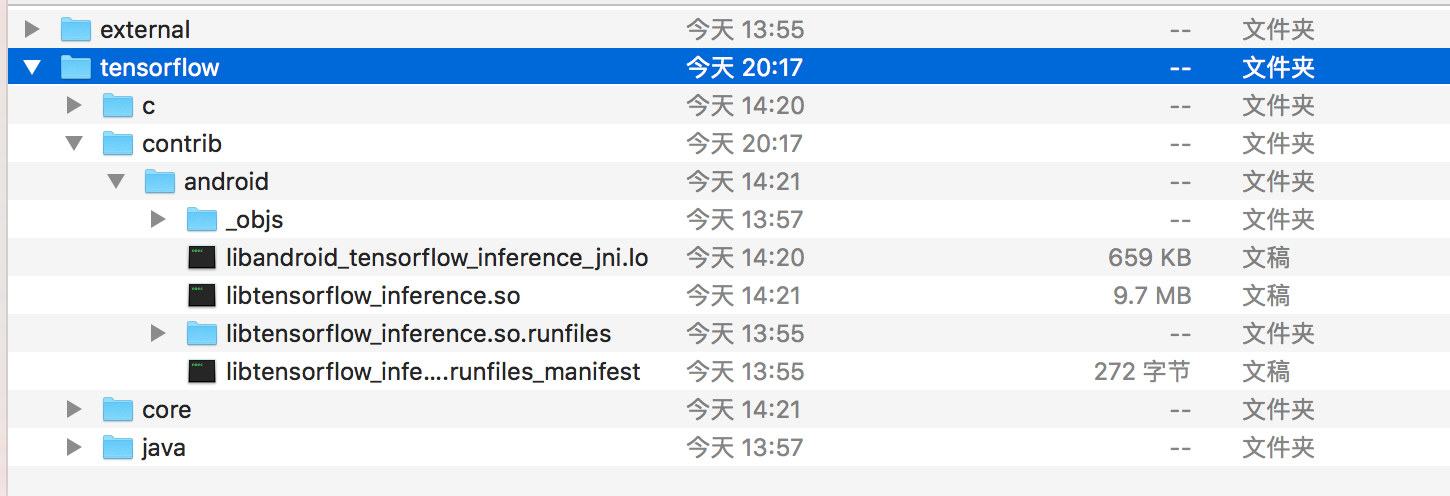
将libtensorflow_inference.so拷贝出来备份起来,因为下一步构建java代码时,此文件会被删除。
编译java部分代码
1 | bazel build //tensorflow/contrib/android:android_tensorflow_inference_java |
编译好的jar位于 bazel-bin/tensorflow/contrib/android/libandroid_tensorflow_inference_java.jar,如图所示
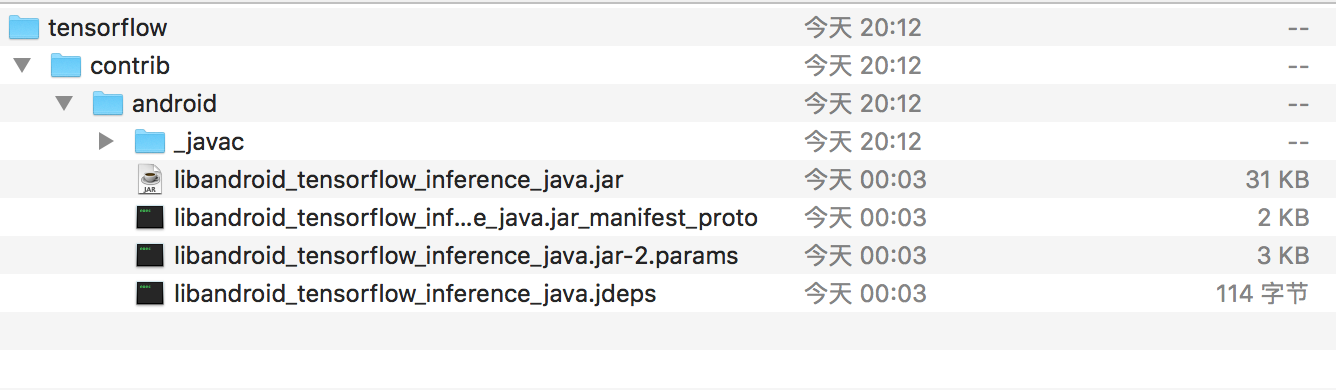
然后将libandroid_tensorflow_inference_java.jar和libtensorflow_inference.so结合起来,发布到maven,就是我们依赖的org.tensorflow:tensorflow-android:1.2.0-rc0了。
编译PC上的Java版TensorFlow
不多说,和NDK交叉编译差不多,编译脚本
1 | ./configure |
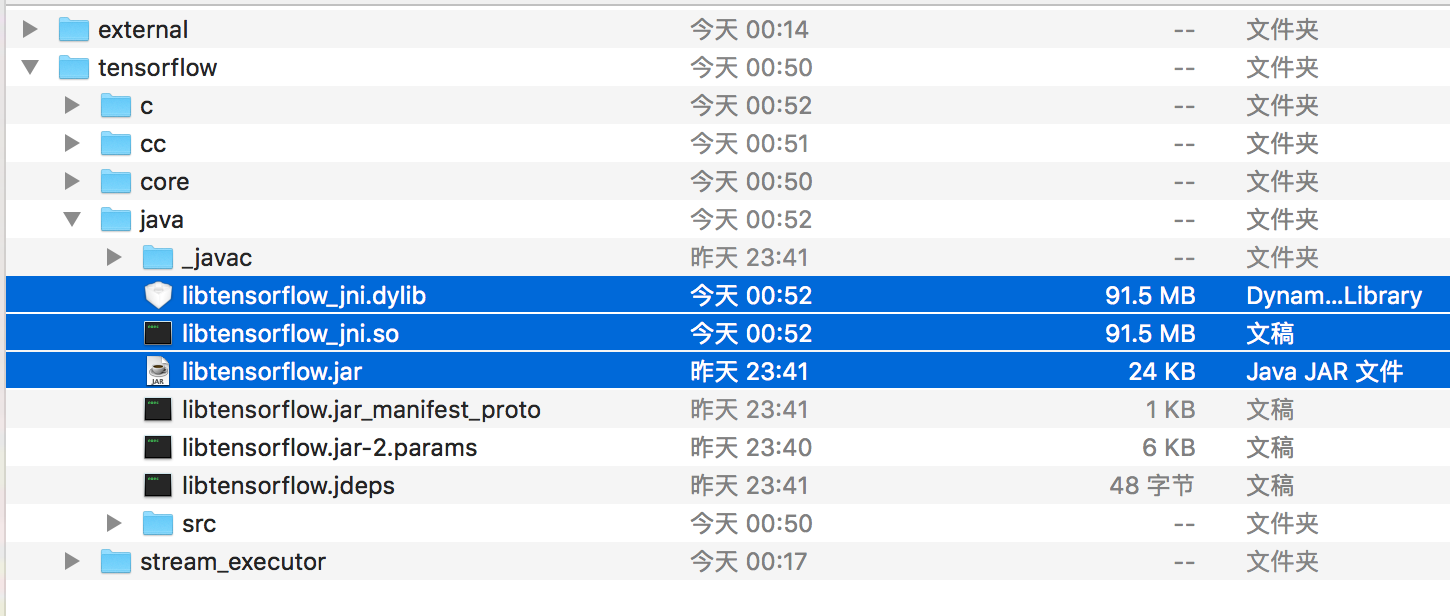
编译产物位于bazel-bin/tensorflow/java,该目录下有
- libtensorflow.jar文件
- libtensorflow_jni.so(linux)或libtensorflow_jni.dylib(mac)或tensorflow_jni.dll(windows,注:mac无法编译出dll)文件,
如图所示
编译时依赖,请添加libtensorflow.jar
1 | javac - bazel-bin/tensorflow/java/libtensorflow.jar ... |
运行期依赖,请添加libtensorflow.jar和libtensorflow_jni的路径
1 | java -cp bazel-bin/tensorflow/java/libtensorflow.jar \ |
总结
当然一般情况下,我们没有必要自己去编译TensorFlow,只需要使用编译好的现成库即可。
写了这么多,可是宝宝还是不会TensorFlow~